Musings on my adventures around the world and my ties back in Texas as well as some of the the ideas I have to adapt and create to keep those places close to home.

Tuesday, March 26, 2013

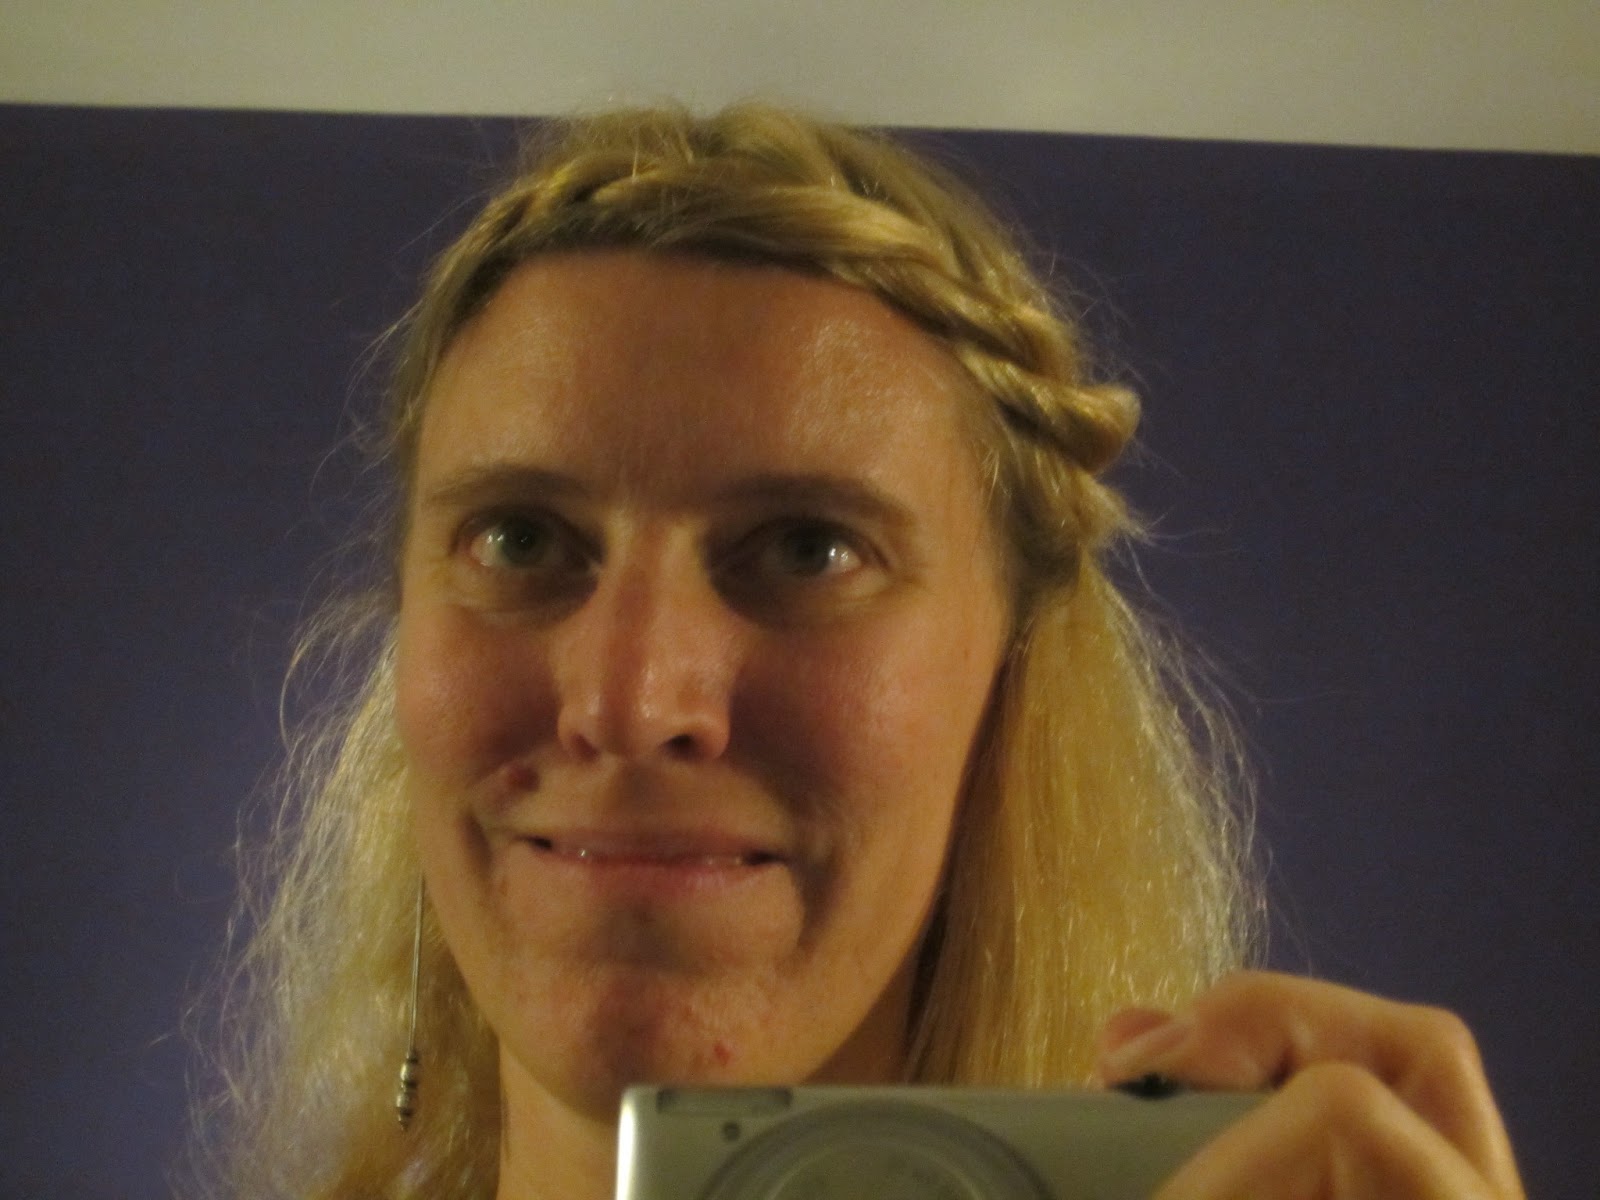
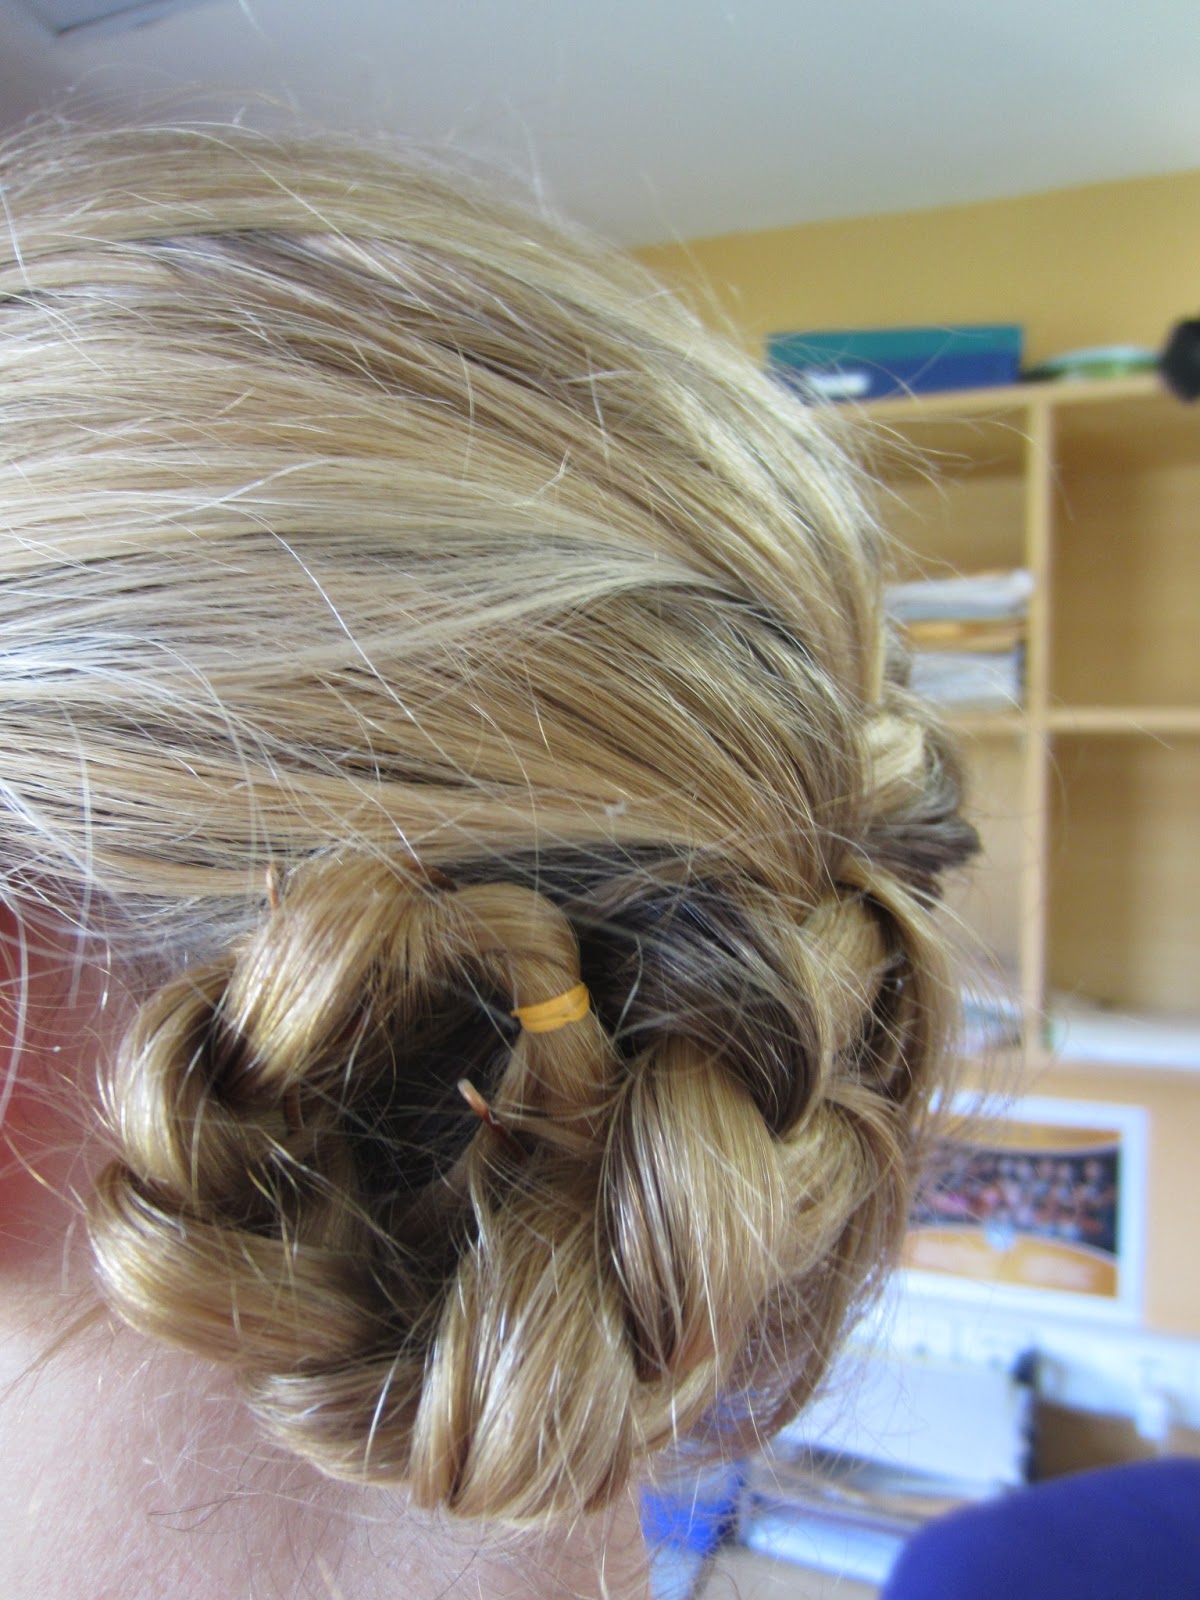
Hair braiding: Meet on the side

I feel as if I found another winner with this one. Another fake crown type braid that hung well ad stayed up through a fairly active day (although by the end of soccer practice it was starting to fall out). In fact I keep wondering if it might be a good hairstyle for flying.

Style 38: Meet on the side


To start with I divided my hair as if I was going to do a headband braid across the front. I put a little more hair towards the front than normal as I wanted my two braids to be fairly even in thickness. Starting over my left ear I braided across the forehead and then curved around to make the braid go behind my ear. I braided the hair out and put a clip at the end to hold it until I finished the other side.


Then I started another braid from just below where I had started the first one. My intention had been to to braid around the bottom hairline of my head, but instead it ended up being more across the back of my head diagonally, which in the end I was pleased with. My aim was to finish adding in hair just about where I had stopped the first braid. I braided it out a little bit just so I wouldn't loose my braid. Then I took both braid in one hand. Pulled out one piece from each braid which seemed to be the closest to each other and made them one strand. The remaining pieces from each braid became their own strands. Then a single braid down to lay in front of my shoulder. To match my very 1950s dress that day I added a small blue ribbon to cover up the rubber band at the end.


Monday, March 25, 2013

Hair braiding: Arabian princess

Several times I wondered what was going through my head this morning? I can't believe I actually went to school like this, but then the day I wore my hair like this it was the day before Spring Break, and anyone can be excused for being a little crazy that day. This all stemmed from wanting to see what would happen if I do a complete French braid from the back nape up to my forehead....

Style 37: Arabian Princess


Oh my! Crazy! (Is my face really that thin?). I started out by flipping my head over and beginning a french braid from the nape of my neck and braiding all of the way to my forehead. I really tried to keep it from getting too bumpy (which seems to be much worse when I braid this way as my hair doesn't normally fall up) and wanted it to be really tight, but I'm never that successful with that on my hair....


As you can see I didn't really manage to do a straight braid, but everyone was so entranced by the front that no one seemed to notice until we tried to take a picture.


When I reached the top, or rather when I had all of my hair added in I tied it off with an almost see through rubber band...tight. Then I took the hair that fell after the rubber band, got it wet to help prevent pieces from sticking out of the smaller braids, and divided it into two (somewhat) equal sections. Each of these I braided and tied off with a small rubber band. I then looped each braid to the side and pinned it in place. I had a fairly large tail that was super visible thanks to the ends of my hair being so much lighter than the top so I decided to try to tuck them under pieces I had pulled into the braid. I ended up pulling them through using my small topsy tail and I they managed to stay tucked away all day. It's a bit of an odd style, perhaps not the best for every day wear, but it definitely brought a smile to a lot of people's faces.


Sunday, March 24, 2013

Hair braiding: Fake rope crown

I'm often looking for ways to replicate a crown without having to do all of that braiding and finger switching, as I find braiding around my head to be one of the most difficult braids to do. I've also been playing with a few more idea that keep some of my hair down, although it strikes me as being the wrong time of year as Delhi is heating up now!

Style 36: Fake rope crown


This is really two ropes that I clipped together in the back. Along the front hair line I did a french rope, where I only added hair into the rope on the forehead side. I added hair in until I got all the way across the forehead and then just completed it out in a rope (it got a bit twisted as I seemed to loose track of which way to twist half way through). I put a clip at the end of that just to hold it for the time being. Then I took a section of hair from just behind where I had started that rope and did a single rope (no adding hair in) as I pulled towards the other side around the back. I attached the two ropes to each other off center in the back to give it more of a crown/circular look.


Saturday, March 23, 2013

Hair braiding: Lobster tail

It's funny. I'm pretty sure I tried something like this once before and it turned out so badly I immediately took it back down (which means it was quite bad!). This time it just seemed to flow right through my fingers easily.

Style 35:  Lobster Tail


I started out by brushing all of my hair back. Then beginning over my right ear (sort of) I did a french braid on a diagonal towards my left shoulder. Once all of the hair was up I finished out the braid and then curled it up, making sure to make smaller circle inside as I curled (my hair isn't long enough to get much more than one curl). Then use hairpins to secure it in place. I got a lot of compliments on this one and was quite happy with how it turned out and how well it stayed up.


Friday, March 22, 2013

Hair Braiding: Braid around a ponytail

The hardest part of this braid was getting a good part into my hair while still being able to keep the rest of it in a smooth ponytail! This is just an easy way to dress up a ponytail if you're willing to have it hang slightly off to one side.

Style 34: Braid around a ponytail


Holding your hair in a ponytail run a fine point through to separate the hair you want in a braid from the ponytail. Put a rubber band around your ponytail slightly off to one side. French braid the hair that is down, being careful not to collect hair that is in your ponytail. Braid from over one ear down and around to underneath your ponytail. Then braid out the end. Wrap the braid around your ponytail and attach it underneath. 


Saturday, March 16, 2013

Hair braiding: finish it with a flower

This is another braid I got from Pintrest. It looked simple enough (which was true) although I'm still not convinced it looks like a flower. It did stay up well and just added a bit more detail to a simple braid.

Style 33: Finish it with a flower


Start by collecting the hair on one side that want you to have in a braid. Braid it (no picking up or anything) pulling towards the center of the back of your head. I always braid it all the way out and attach a clip on the end to hold it. do the same thing with the other side. Collect the two braids where you want them to meet and attach them with a small rubber band. Undo the braids that are after the rubber band so that you can combine that hair into a single braid. Loosen it up by pulling on sections of hair. Attach the end with a small rubber band. Twirl the hair around, when you get close to the end tuck it underneath your circle (sorry, flower) and pin it in place. it's hard to see from the angle in the picture but it added a nice flourish to the braids. Plus it stayed in no problem all day.

Friday, March 15, 2013

hair braiding: meet in the middle 2

This is rapidly turning into my travel hairstyle. It stays up well and doesn't seem to bother me when I try to sleep on an airplane. Really anything that can survive a 24+ hour trip has to be pretty good.

Style 32: meet in the middle 2


I start by dividing my hair down the middle part. Then complete a normal french braid on one side trying to angle myself towards the middle. Typically I pick up hair about six times before I'm roughly where I want my braids to meet. Once I've added hair six times I braid what is in my hand out and stick a clip on the end to hold it. I then do the same thing on the other side. Once I have two braids done I pick them up and hold them in one hand where they (come close to) meet. I release the clips and then pull the one strand from each braid (that are the closest to each other where my hand is) to make one new strand. The other two strands on each side also combine together to form new strands. Then it is just a normal french braid with the rest of the hair.

Thursday, March 14, 2013

Hair braiding: a stand out crown

I got so used to looking for new hairstyles that even though I've moved on to a new personal goal I find myself still looking for new ideas I can do with braids. I've found a few more, so thought I'd better keep track of them for future reference.

Style 31: stand our crown


Just like with a normal crown I divided my hair out from the center of my head, and then started somewhere over my right ear, braiding around the front and then completing a circuit. The only difference is that instead of adding hair on both sides of the braid I only added hair from the bottom (i.e. the outer side of my head). When I pull really tight this has the effect of making my braid kind of roll and stand out. At the end I completed the braid and laid it behind the original braid using hair pins to keep it in place. It  might be a bit easier to see from a side view.


Wednesday, March 13, 2013

Hair braiding: a redo

When I was doing my hair challenge I was thoroughly unsatisfied with how the style turned out on day 6, but felt like there was some potential there. I decided it was worth giving it another shot. It ended up being a much better attempt that stayed up all day (this picture was taken after a full day at school). The difference? When I did the final braid on the right side I pulled the hair from the front of both sides but also picked up a small section of hair where I wanted the braid to hang so that it wouldn't fall lower. Worked like a charm!


Wednesday, February 20, 2013

Hair braiding day 30

The last day in my 30 day challenge. It's been surprisingly easy to find 30 different braids and twists to do with my hair. In fact I had several to choose from today. I'll admit I tried an idea I had in my head and wasn't happy with how it turned out and so ended up redoing my hair in a completely different style this morning. I couldn't have my last day be a flop!

Style 30: back braid to double braid bun


Last summer I became a big fan of the braid going up from the back. It takes care of all of those wispy fly aways that when it is hot out you don't want hanging on your neck. However buns and I are not on the best of terms. So I was really pleased when I figure out that I like this one a lot more than most. I started out by flipping my hair upside down and braiding up my head from the back. I stopped a little lower than normal not wanting a bun on the top of my head today (although it is still fairly high up otherwise the braid doesn't show). The collected all of my hair in a ponytail where I had stopped braiding and tried to get all the bumps smoothed out. Divided the ponytail into two parts and braided each part loosely tying each braid off with a rubber band. Took one braid and wrapped it around the ponytail, pinning into place and then did the same thing with the other (I think I wrapped the opposite direction but I can't really remember). It makes for a much more interesting bun, and my hair doesn't slip out of it nearly as easily as with a regular bun. That's it for my 30 braid challenge!

Tuesday, February 19, 2013

Hair braiding day 29

Yet again, Pinterest gives me an idea. I have to admit that a lot of my ideas come from there, mostly because I am most likely to try a braid I can actually see. Although I wasn't able to exactly replicate it since when I tried it just didn't look right, perhaps my hair isn't long enough or full enough?

Style 29: Braided into a roll


I started by collecting all of the hair that lay behind my ears and tied it into a low ponytail. Then with that same section of hair I put another small rubber band close to the end, with the hair loose (not pulled as close together as possible)...it is more about getting the ends even then a tight ponytail. I then took that piece and flipped it up, tucking the end under (one roll) and pinning it in place. The hair from in front of/above each ear got braided and tied off into the end. Then I took each braid and tucked the end into the roll and pinned it in place. Mixed emotions about this one. It looked fin this morning, was very loose by the time I got home this evening. 

Friday, February 15, 2013

Hair braiding day 28

There have been tutorials all over the internet for this braid this year. In my head I think of it as the hot new braid, sort of like ropes were at one point, or the topsy tail was big when I was little. So of course I had to try the waterfall braid at some point in my 30 days. I'm not sold on this braid though. It definitely falls into the loose, wispy category, and although I guess my hair is still up as I write this it does not feel very secure. Perhaps it is a special events type of hair style rather than a day to day one.

Style 28: Waterfall braid


The idea here is that you don't keep everything in your braid that you pick up. My best attempt was when I began like a normal braid, Added hair in only on the top, but when I added in I let the piece that I would have added it to go over the middle piece and then leave my fingers. So you are continually picking up on the top a piece that becomes all that is one strand in the braid. I haven't figured out a good way to end this braid either. I'd probably choose to put a fancy clip where I finish rather than finish the braid out, but I ran out of time to go digging for the one I wanted this morning.

Thursday, February 14, 2013

Hair braiding day 27

So I really wanted to do this braid for Valentine's Day, but couldn't figure out how to do it on my own head. I don't think it'd be that complicated....but my fingers don't twist that way! Instead I decided to adapt this one to make my own braid bun, and yes, it brought quite a few ohhhs and ahhhs during the day today.

Style 27: Heart bun


This was a lot easier then I thought it might be. I took half of my hair and made a single braid from just to the side of the my center part and tied it off at the end with a band. Did the same thing on the other side, leaving enough space between the two braids to fit two fingers. Then taking the first braid I rolled it around itself from the inside to the outside and pinned the top part in place. Took the second braid and did the same thing, rolling it towards the outside. Then I added one more rubber band tying the two braids together. After looking a few times and walking around the house I ended up adding two more hairpins to secure the outer pieces of the heart down. 

Bonus Style 27b: Rope bang braid


That's right. I actually did two different braids today. I ran this afternoon and then remembered I had a parent meeting and after I washed my hair just wanted a little something to keep it out of my eyes. So I did a far off center part, collected two pieces and began to do a rope. I only added hair in on the forehead side, and only did that until I got across my forehead. I did a few more twists then pinned it into place. Stayed up well enough for the 3 hours I had it in, and suspect it would have lasted just fine for the whole day.

Wednesday, February 13, 2013

Hair braiding day 26

I keep thinking that I am going to run out of ideas, but with just another 4 days left I'm beginning to believe that I won't have a problem after all. I must admit, that is in a great part due to the wonders of Pinterest. Today's hair style came from a pin I saw there, admittedly modified a little to work with my slick, thinner hair.

Style 26: Hot crossed bun


This is another pretty simple hairstyle. I divided my hair into three pieces, with a larger portion in the center. That piece got curled into a bun. I have to admit that by the end of the day my bun was pretty fuzzy, but that probably could have been avoided if I had used a bit of mouse, of course that would have required actually having mouse. I didn't use a rubber band as I didn't want it to show and just pinned them bun into place. The front two pieces I did a simple braid with and attached at the end with rubber bands. The first braid I did ended up being two low to be able to wrap around the top of the bun so I had to redo it higher up. Then took one of the braids and wrapped it around the bun, crossing over the top, and pinned it in place. Did the same with the other braid, crossing over the bun the other way.


Tuesday, February 12, 2013

Hair braiding day 25

Today was a bit of an adventure. What felt like a completely new hairstyle compared to what I normally do. I must admit that I actually tried this hairstyle a couple of days ago and took it right back out as it was super messy and uneven. I guess a trial run helped make this one successful. My inspiration came from here, although I don't think it looks much like a halo, more like a path going around a mountain. Perhaps that is because I wrapped my rubber band around the ponytail part about 4 times to make sure it wouldn't fall out, perhaps it would lay lower if the rubber band hadn't built up so high.

Style 25: Around the mountain


While I really think you'd be best off watching the video that was my inspiration, here is what I did briefly. First collect 1/3 to 1/2 of your hair in a ponytail at whatever point you want your braid to go around. You should be pulling up the middle of your head, nothing that lays around the hairline. Then, like with a crown braid you start braiding. I start somewhere over my right ear. When you add in hair on the outside you will pick up from the hair that is down. When you add in hair on the inside you add a small section from the ponytail. It is a bit tricky to have both sections run out at the same time in the same place, but I was able to finagle it. You need to pay attention when you get down to maybe 2 or 3 sections to add in. Go all around your head. At the end, finish the braid out and attach it with a rubber band. Then tuck the end of your braid under the pieces that you had pulled from the ponytail. One advantage to this braid is that it looks almost like it is a continuous braid and you can't really see the beginning or the end. Rather more difficult to do on you own hair then on someone else, but clearly it is possible. I just had a hard time circling evenly around my ponytail. I will say I got lots of compliments on this one today. I guess it was just different enough to be intriguing!

Monday, February 11, 2013

Hair braiding day 24

Today was another variation of the fish bone. I haven't found a whole lot of different styles I can do with this, partly because I find it so hard to hang onto and make tight, but I figured that if I could do one I could probably do two. In some ways I think this one turned out a lot nicer than the single one I did a few days back.

Style 24: fish bone pigtails


The idea here is pretty simple. Divide your hair into two equal parts. Do a french fish bone braid on each side. When you add hair in make sure to take a small piece from what you already have in your hand as well so that it doesn't just fall right out. I did a better job today of taking small pieces once I got down to the tail and it looks a lot more like a fish bone!

Friday, February 8, 2013

Hair braiding day 23

Some days you just want something easy. Today was one of those days. What can I say? Its Friday. So I decided to do the second most simple braid I know. Second, only because I typically braid over instead of under so my fingers take a bit more thought this way.

Style 23: Inverted French Braid


So this one it almost exactly like what I consider a "normal" French braid. The only difference is that instead of pulling the outside strands over the middle one you pull under. I have a bit more difficulty making this tight at the top, I just can't pull it quite as tight, it still seems to stay in pretty well. As with most braids, the smaller sections that you pull up (meaning the more times you add to your braid) the tighter the braid will be. 

Thursday, February 7, 2013

Hair braiding day 22

Today was a really easy and fast hair style. It took my maybe 2 minutes to do, and that is enough for me to say it is probably one of those styles that will stay in my repertoire, at least while my hair is this long.

Style 22: double braid wide bun


I started out by gathering my hair into two ponytails that sat about four fingers away from each other, one on either side of my part. I then braided each ponytail and secured with rubber band. Taking one of the braids I wrapped it around the other ponytail, going around the top and securing it where it landed on the bottom with bobby pins. Then I took the second braid and wrapped it around the other one, going from the bottom to the top, tucked the tail under the earlier braid and secured it. When I looked in the mirror I had to add another bobby pin so that the braids were fully covering up the original pony tail holders. Simple, pretty and worth a few remarks from my students today.

Wednesday, February 6, 2013

Hair braiding day 21

Whenever I decide to do a fish bone braid I always realize two things. One: that this seems to be the one type of braid I have not gotten any faster at despite doing it for several years. Two: that I'm not really sure I have the patience to do it well because it really only looks great if you take small pieces to move and are consistent in the size you pick up; neither of which I'm good at. Besides my arms start to get really tired whenever I do this! I thought to do an abbreviated version today, although I'm not sure it was any less work than any other fish bone.

Style 21: Half up half down with fish bone


Fairly simple hairstyle today in theory. At leat until my arms got tired. I collected a section of hair from the front, and did a fish bone until it reached the middle of my head. Clipped that in place to keep it from falling out. Then did the same thing on the other side. Collected both pieces and banded them together. If I was going to dot his again I would probably try to keep my fish bone going a bit longer so that it would (1) go all the way to the band and (2) could hang a bit looser. But hey, there's limited time when you hit the snooze button. You can see the fish bone a bit better in this one:


Tuesday, February 5, 2013

Hair braiding day 20

This one comes after an image that my sister pinned onto my Pinterest board. I'm not sure that it turned out exactly like the picture, but was apparently interesting enough that at least one girl in each of my classes today commented on it. In fact, I'm not really sure how to explain what I did as I didn't really look in a mirror and I just kind of tried something to see if it would work. I might even say that it looked better at the end of the day when it was a bit looser than it did as I left in the morning.

Style 20: side braid to a bun


So I didn't really part my hair or anything. I just started braiding somewhere above/in front of my right ear. I only added hair in from the bottom, for no particular reason except I didn't feel like trying to get the braid to curl while adding hair in on both sides. I braided until just past the middle of my head, hoping it would look something like a swirl into the bun. Collected all of my hair in one hand and twisted it around into a bun before securing with about 6 bobby pins (I told you I didn't really know what I was doing, I just kept adding until it didn't feel like it would fall out). I didn't braid the tail, I didn't use any rubber bands. I just tried to make sure that the bun curled above, almost sitting on, the french braid so that it didn't cover it up.